
Gather & Cook: Making Bread at Home
- Eutierria Essence
- Apr 1
- 4 min read

Updated: Apr 15
The Why
There’s something deeply grounding about making bread from scratch. It connects us to tradition, to rhythm, to nourishment. We had seen a few posts about baking bread at home and felt drawn to make it part of our weekly routine. We go through quite a bit of bread in our household, and while store-bought loaves are convenient, they add up fast. Every time we use this recipe, it saves us about $8 which turns into real savings over time. Beyond the cost, baking bread has become a grounding ritual. We've been making this recipe weekly for over a year, and it’s now a staple in our home. Both of our toddlers love having toast in the morning with a generous smear of peanut butter. We use it for grilled cheese sandwiches with homemade garlic herb butter (a favorite), and it holds up beautifully never soggy or limp like some store brands.
There’s just something better about it because it is better.
What We’ve Discovered About Baking Bread at Home
The smell is absolutely heavenly. It fills the house with warmth and comfort.
The texture is unique crispy on the outside, soft and spongy inside.
It toasts differently better, even. Golden edges with a perfect bite.
The flavor is simple, wholesome, and versatile pairs with sweet or savory.
It keeps well in a bread bag or tea towel for several days.
And the act of making it? Peaceful. Rewarding. Therapeutic.
The Recipe
What You’ll Need
Measuring cup (2 cups or larger, for warm water)
Measuring spoons
Mixer with dough hook
2 loaf pans
Spatula
1 large mixing bowl
1 clean kitchen towel (wet/damp)
Ingredients
2 cups warm water (105–110°F – any hotter and you may kill the yeast)
2 teaspoons active dry yeast
2 tablespoons sugar
1 teaspoon salt
¼ cup unsalted butter or neutral oil (plus a little extra for greasing)
4–5 cups all-purpose flour
Instructions
1. Activate the Yeast: In a large measuring cup, combine warm water, sugar, and yeast. Stir gently to remove clumps. Let it sit until the mixture becomes bubbly and doubles in volume (about 10 minutes).
2. Mix the Dough: In a mixing bowl, add flour, salt, and butter. Pour in the activated yeast mixture. Mix on low until a dough forms and begins to pull away from the bowl. Knead with the mixer for 5 minutes, then transfer to a floured surface and knead by hand for another 8 minutes, until smooth.
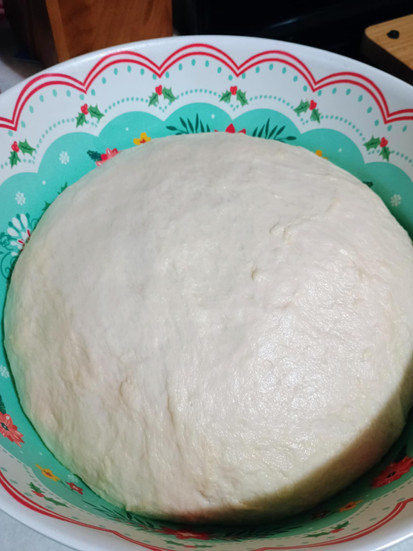
3. First Proof (Rise): Lightly oil a clean bowl and place your dough inside. Turn the dough to coat it in oil. Cover with a damp kitchen towel and place in an OFF oven with just the light on for warmth. Let it rise for 1 hour.
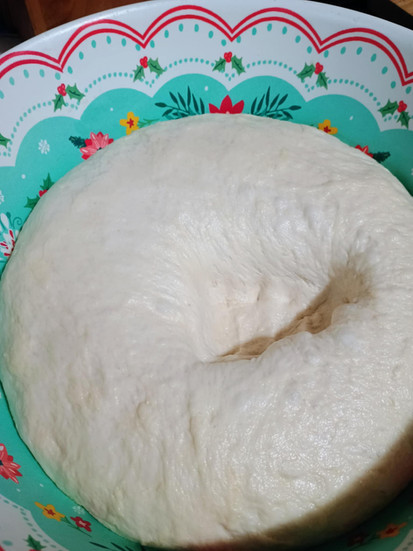
4. Shape the Loaves: Once risen, punch the dough down. Turn it out onto a surface and divide it into two equal parts. Flatten each piece gently to remove air bubbles, then roll into a log shape.
5. Second Proof: Lightly oil two loaf pans and place a dough log in each one. Cover with the damp towel and let rise for 40 minutes. Preheat your oven to 375°F during this second rise.
6. Bake: Bake both loaves for 35 minutes, until golden brown and hollow-sounding when tapped.
7. Cool Completely: Remove the bread from the pans and place on a clean cutting board or wire rack. Lay them on their sides to cool for 2–4 hours. It’s essential to let them cool completely before bagging to prevent moisture buildup. Usually we will usually take some butter and rub it over the top of the bread once its cooled a little.


Troubleshooting
If your dough doesn’t rise, your yeast might be expired or your water too hot.
If the bread is too dense, try kneading longer or adding a bit less flour next time.
Storage Tip
Once fully cooled, store your bread in a bread bag, beeswax wrap, or a clean towel in a bread box. It stays fresh on the counter for 3–4 days, or freeze a loaf for later!
Extra Fun Ideas
1. Honey Oat Bread Variation: After separating the dough, flatten each piece and drizzle with honey and a handful of quick oats before rolling into a log. Once in the loaf pans, drizzle a bit more honey on top and sprinkle with oats before baking.
2. Garlic Herb Twist: Add a savory twist by spreading a thin layer of softened butter mixed with garlic powder, parsley, and a pinch of sea salt onto the flattened dough before rolling it up. Top with more herbs for a flavorful crust!
Closing Thoughts
Baking bread has become more than just a way to save money for our family it’s a rhythm, a comfort, and a quiet joy woven into our weeks. There’s something deeply nourishing about working with your hands, watching dough rise, and filling your home with the scent of something made from scratch. We hope this recipe brings that same sense of warmth and grounding into your kitchen. Whether it becomes a weekly staple or a special weekend ritual, may each loaf you make carry love and intention to your table.
Let’s Stay Connected
Don’t worry if your first loaf isn’t perfect every loaf is a lesson, and the process is just as nourishing as the bread itself. Keep flour on your hands, joy in your heart, and soon enough, this recipe will feel like second nature.
✨ Share your kitchen wins with us whether it’s your first loaf or your fiftieth. Tag @eutierriaessence on social media or drop a comment below. Let’s grow this cozy, from-scratch community together. ✨


Comments